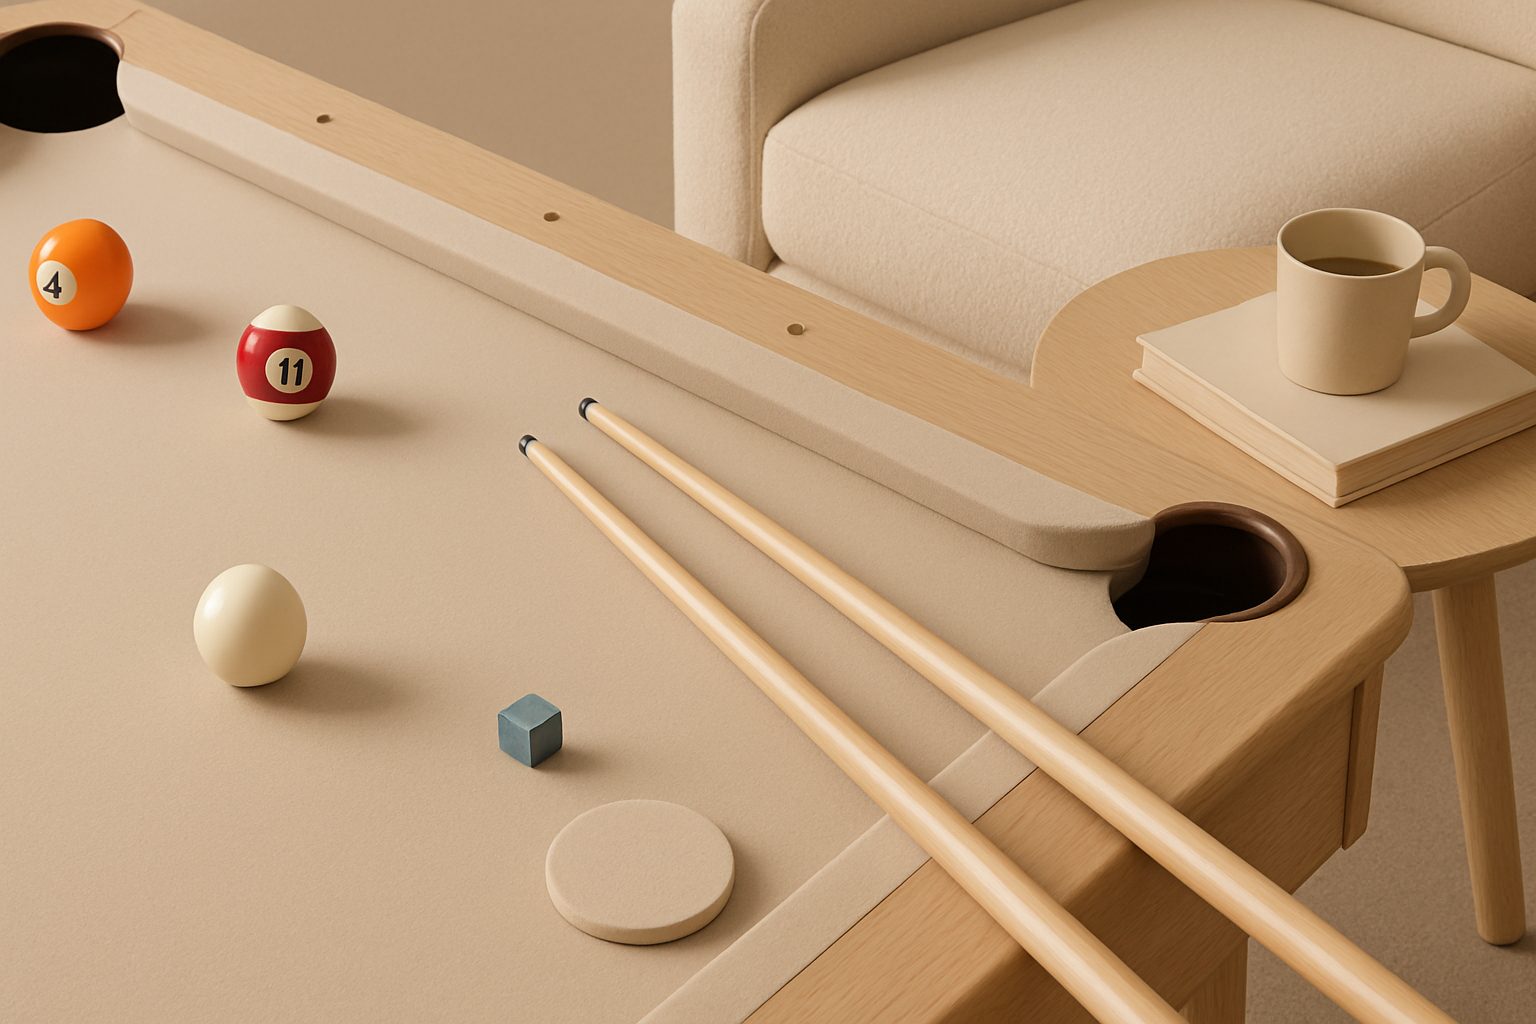
How to Set Up a Pool Table at Home UK – Step-by-Step Assembly Guide
Setting up a pool table at home needn't be intimidating, but it does require patience and precision. Whether you've ordered a slate table or opted for an MDF bed to save space and weight, the assembly process follows a similar pattern. This guide walks you through unboxing, building, and preparing your table so it plays properly.
Before You Start: Preparation and Tools
Clear a large, level room before your delivery arrives. You'll need at least 3.5 metres in width and 4 metres in length for a standard 7-foot table—more if you plan to play comfortably. Check doorways and staircases to ensure the parts will fit through (many deliveries are made in sections for this reason).
Gather these tools:
- Socket set and spanners (most tables use metric bolts)
- Hex keys (Allen keys)
- A long spirit level (at least 60 cm)
- A rubber mallet or block of wood and hammer
- A staple gun rated for pool table cloth (electric is easier than manual)
- Staples in the correct size for your gun
- A sharp utility knife
- Masking tape
- Clean, dry cloth for wiping parts
Set aside 6–8 hours for a slate table, 3–4 hours for MDF. Don't rush this. A poorly assembled table will play inconsistently and become frustrating to use.
Assembling the Legs and Frame
Unpack the frame and legs carefully, inspecting for damage. Most modern tables have bolted corner pockets and detachable legs. Start by fitting the legs to the frame using the provided bolts. You'll typically find threaded inserts in the underside of the slate bed.
Tighten bolts gradually in a cross pattern—do opposite corners alternately to avoid twisting the frame. Over-tightening can crack the bed or strip threads, so use firm, even pressure rather than maximum force. Once all four legs are attached, the frame should sit flat and level on your floor. Check this with your spirit level placed across the centre of the frame in both directions.
Leg levellers are usually provided as small adjustable feet. Once the frame is level, you won't need to adjust these often, but they're useful for fine-tuning later.
Laying the Bed
This is the critical stage. A poorly laid bed ruins the entire table.
Slate tables: The slate comes as one or three pieces, depending on the table size. If it's three pieces, they'll be numbered and marked for assembly. Clean the slate thoroughly—factory dust and debris will affect playability. Place the main centre slab first, checking it sits fully in the frame's rebate and is level in all directions. Add the end pieces, ensuring seams are tight and flush. The playing surface should be completely level and immovable.
Many 7-foot tables have three-piece slate. Fit the pieces carefully, checking each for gaps or movement before tightening any bolts underneath. Take your time here.
MDF tables: MDF boards are lighter but require similar care. Ensure the frame is level first, then lay the boards. MDF is prone to warping if exposed to damp, so avoid storing tables in unheated garages or basements long-term.
Once the bed is in place and stable, spend time with your spirit level. Place it lengthways, crossways, and diagonally across the playing surface. A good table should be level to within 3 mm across the entire surface—anything more will cause the balls to roll unpredictably.
Fitting the Cloth
Pool table cloth is tightly woven nylon or wool blends. Once you've confirmed the bed is level, you're ready to cloth the table.
Unroll the cloth carefully over the bed, centring it. The cloth should overhang evenly on all sides. Start stapling from the centre of the longest sides, pulling the cloth taut as you go. Work outward towards the corners, maintaining even tension. Never pull the cloth so hard that you're deforming the bed beneath it.
At the corners, fold the cloth into neat triangular flaps and staple those down last. A sharp utility knife will trim excess cloth cleanly. Work slowly around the perimeter, removing the backing from staples as you go.
This is where patience pays off. A well-stapled cloth sits perfectly flat and will last for years. A rushed job creates wrinkles and bunching that affect ball roll.
Fitting the Cushion Rails
Cushion rails (the rubber bumpers) usually arrive attached to the slate or fitted to the frame itself, depending on your table design. Some require bolting on; others slide into grooves.
Check that cushions are even in height and firmly attached—they should not flex or rattle when you press them. The cloth must wrap over the top of the cushions smoothly. If the cloth bunches or lifts, you may need to adjust how it's stapled or check that the rails are properly seated.
Tap the rails gently with a rubber mallet to ensure they're fully home in their sockets.
Final Checks and What Comes Next
Once assembly is complete, leave the table undisturbed for 24 hours if the room temperature has changed. The cloth and slate benefit from settling.
Before your first game, take time to brush the cloth in one direction to raise the nap—this helps balls roll true. Inspect the playing surface one more time with your level. Over the first few weeks, you may find minor adjustments are needed; this is normal.
Your table isn't quite ready to play yet. Read our levelling and adjustment guide to dial in the table perfectly, and explore our accessories bundle to see what you'll want nearby—chalk, brushes, a proper triangle, and cue rest are essentials.
A properly assembled pool table will give you years of reliable play. Take your time, and you'll have a table you'll be proud to use.
More options
- Home Pool Tables (All Sizes) (Amazon UK)
- Slate Bed Pool Tables (Amazon UK)
- Foldable & Compact Pool Tables (Amazon UK)
- Pool Table Accessories Bundles (Amazon UK)
- Pool Table Cloth & Felt Replacement (Amazon UK)